REVIEW · OAHU
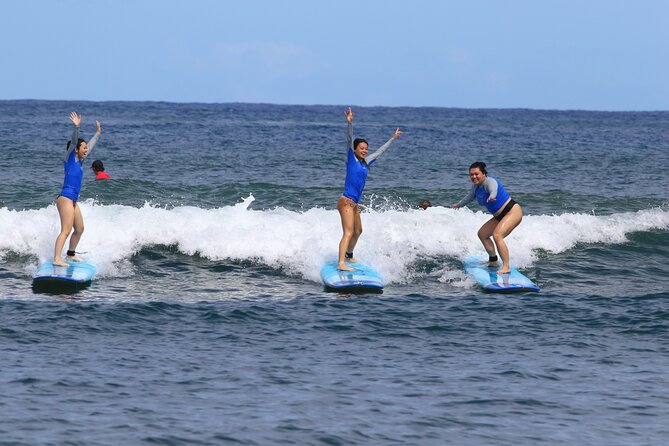
Group Surf Lessons for beginners on the North Shore of Oahu
Book on Viator →Operated by Catch'a Wave · Bookable on Viator
Surf lessons work best with patient eyes. This beginner-friendly session on Oahu’s North Shore (Haleiwa area) is built to help you feel confident fast, with private-group attention and a clear path from sand to sea. You can pick a morning or afternoon start time, which makes it easier to fit into a full day of North Shore exploring.
I especially like the travel-light setup. Surfboard, surf leash, and a rash guard are provided, so you only need to show up ready for the water, not hauling beach gear. The main consideration is simple: this is still a water activity, so if swimming is a struggle, ask for a life jacket in advance.
In This Review
- Why This North Shore Lesson Feels Beginner-Friendly
- Key Highlights You’ll Actually Notice
- Entering the Water in Haleiwa: Location and Timing That Work
- What You Bring (and What You Can Leave Behind)
- The 2-Hour Flow: From Arrival to Your Last Wave
- Arrival, Gear, and Lesson Overview
- Safety Briefing and Surf Etiquette
- Warm-up and Dry-Land Practice
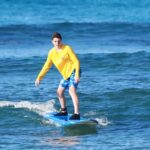
- Into the Ocean: Paddling, Standing, and Small Waves
- Continued Practice: Timing, Control, and Longer Rides
- Instructor Style: Why Patient Coaching Changes Everything
- Choosing Beginner Waves With Safety in Mind
- Price and Value: Is $150 Worth It?
- Who This Lesson Suits Best
- Should You Book This North Shore Surf Lesson?
- FAQ
- Where is the meeting point for the surf lesson?
- How long is the beginner surf lesson?
- What surf gear is included?
- What should I wear and bring?
- Is morning or afternoon available?
- What if I struggle swimming?
- What happens if the weather is poor?
Why This North Shore Lesson Feels Beginner-Friendly
This lesson is designed for first-timers and people who want to tighten up basics. You get a plan that doesn’t skip steps. That matters because surfing rewards timing, balance, and repetition, not just luck.
The coaching is also geared toward keeping your brain calm. You’ll start with an intro and safety briefing, then you’ll practice on land before you’re asked to do the full sequence in the ocean. That dry-land warm-up is the kind of thing that prevents frustration. It’s also one of the easiest ways to make your first rides feel like they happen by design.
One more practical win: it’s offered as a private group experience. You’re not competing for attention with a bigger crowd, so your instructor can watch what you’re doing and correct your pop-up mechanics when it counts.
Key Highlights You’ll Actually Notice
- Dry-land pop-up practice first, so your first attempts in the water feel less like guesswork
- Gear provided (board, leash, rash guard), keeping your pack light for the North Shore
- Instructor feedback during small-wave sessions, built for beginners and steady progress
- Surf basics and etiquette covered before you paddle out, so you feel safer and more confident
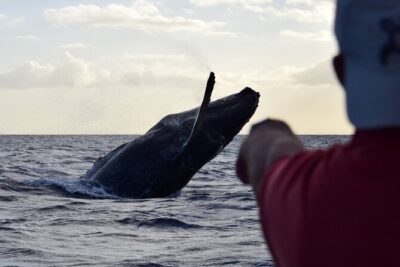
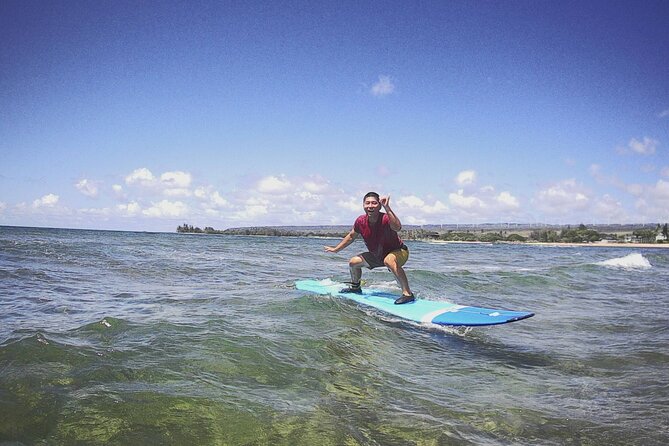
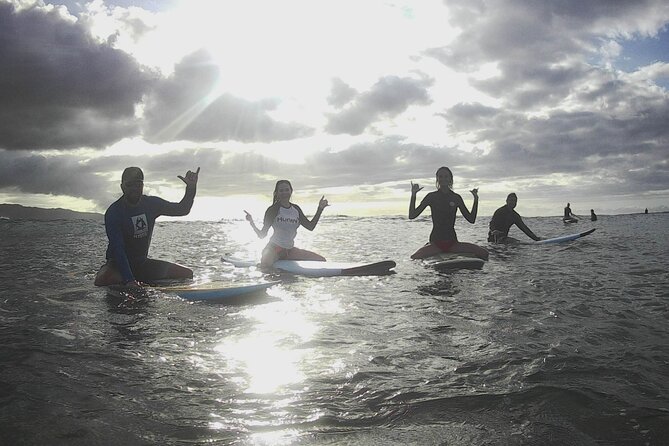
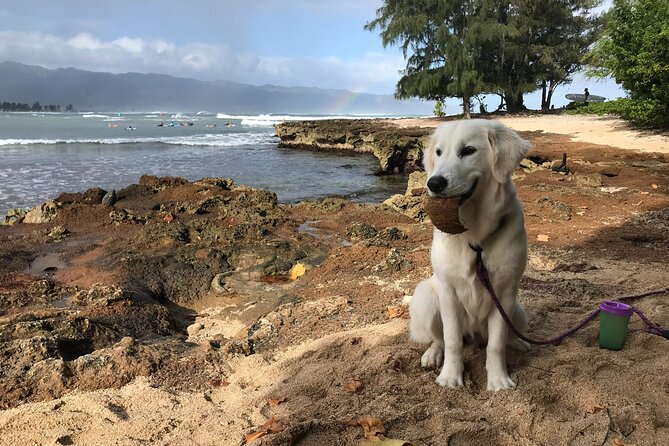
- You may spot sea turtles while you’re on the water, adding a memorable wildlife moment
You can also read our reviews of more tours and experiences in Oahu
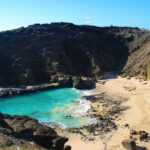
Entering the Water in Haleiwa: Location and Timing That Work
The meeting point is Kahalewai Place, Kahalewai Pl, Haleiwa, HI 96712. The lesson ends back there, so you don’t need to plan extra transportation afterward.
Timing is also flexible. You can choose a morning or afternoon session, which is a big deal on Oahu. The North Shore can shape your whole day: choose a time that matches your energy and the rest of your plans (sunrise hikes, shrimp trucks, beach time, or even just resting before dinner).
It helps that the activity is near public transportation. If you’re not driving, that gives you an easier path to get to the start area.
What You Bring (and What You Can Leave Behind)
This is a “travel light” surf lesson. You don’t need to source a board or chase down a rash guard at the last second.
What the lesson provides:
- Surfboard
- Surf leash
- Rash guard
What you should bring yourself:
- Wear a swimsuit to the start
- Bring and use reef-safe sunscreen
- Bring nothing else bulky if you can help it
This matters for value. Surf lessons can nickel-and-dime you with rentals and extra gear. Here, you’re mostly paying for instruction plus a solid 2-hour block in the water zone where learning happens. You’ll save both time and hassle by not tracking down equipment.
Also, rash guards help protect your arms and shoulders. Even if you’re not someone who burns easily, this is still a smart layer for the kind of sun and wind you’ll get on Oahu.
The 2-Hour Flow: From Arrival to Your Last Wave
The lesson runs about 2 hours. That’s long enough to learn something real without turning into a slog where you’re too tired to process coaching.
Here’s the rhythm you can expect:
Arrival, Gear, and Lesson Overview
When you arrive, your instructors greet you and sort out your equipment. You’ll also get a quick overview of how the session will work from start to finish. This is useful because it sets expectations early, especially if you’re new to surfing.


Safety Briefing and Surf Etiquette
Before you’re anywhere near the surf break, you’ll cover ocean conditions and surf etiquette. This isn’t just rules for rules’ sake. It’s how you learn to:
- paddle with awareness
- respect other surfers’ space
- choose beginner-friendly waves
- understand basic surf conditions before you commit to a ride
For many beginners, this is the part that quietly improves everything else. When you’re not guessing what’s happening around you, you can focus on your own movement.
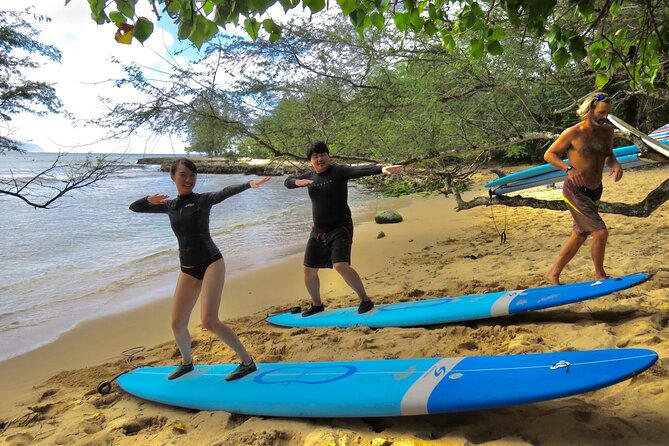
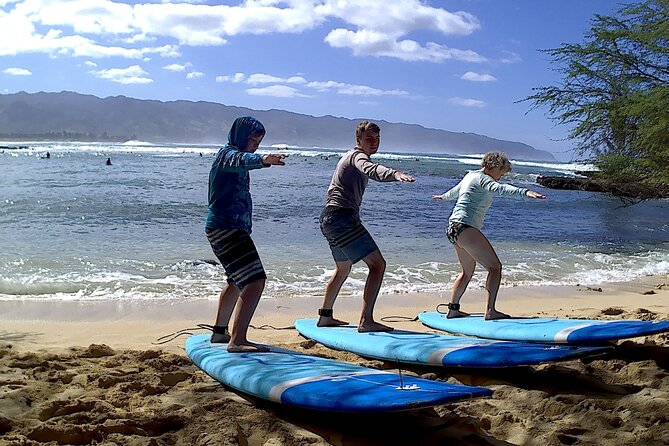
Warm-up and Dry-Land Practice
Then comes the warm-up. You’ll also practice the pop-up technique on land. The goal is simple: foot placement and balance. You’re training the mechanics before the ocean adds chaos.
This step showed up as a standout in instructor style and teaching method. Practicing first on the beach means you start the water portion with a plan, not with blind hope.
If you’ve ever tried to learn something physical and felt like you were thrown into the hardest part immediately, this is the opposite. You get the basics in a controlled setting.
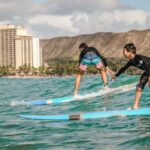
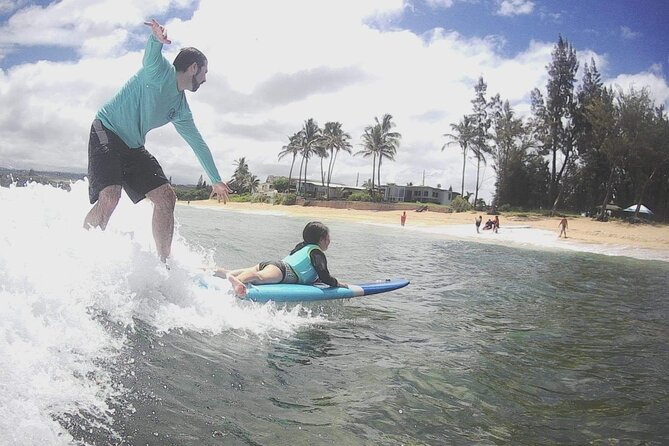
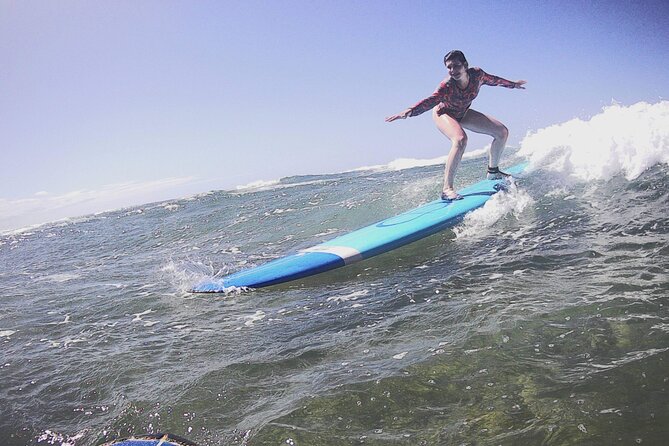
Into the Ocean: Paddling, Standing, and Small Waves
Once you’re ready, you head into the ocean to catch small waves. Your instructor guides you through:
- paddling
- getting in position
- standing up when the timing makes sense
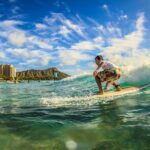
Your first wave ride is usually the turning point. That’s when you learn that the pop-up isn’t just a movement. It’s a sequence: paddle, set, pop, and balance.
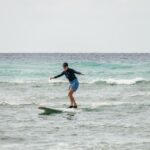
Continued Practice: Timing, Control, and Longer Rides
As you gain confidence, you’ll keep working on balance, turning, and wave timing. The aim isn’t to force speed or big airs. The aim is control.
You’ll build toward riding longer and standing with more steadiness. For beginners, that’s real progress, not just a single lucky wave.
Instructor Style: Why Patient Coaching Changes Everything
A big reason people love this lesson is the way the instruction lands. In real-world terms, you need an instructor who can:
- notice what you’re doing wrong
- explain the fix in plain language
- repeat the coaching without making you feel rushed
In this experience, instructors are careful, observant, and patient. The teaching method emphasizes dry exercises on the beach before trying anything in the waves, which helps beginners get their fundamentals down cleanly.
One instructor name that comes up is Connor. Multiple accounts highlight how effective his approach is for first-timers: he helps you catch your first waves quickly, stays positive, and focuses on getting you to your goal. Another detail I like from those accounts: the instructor gives generous time in the water so you can learn as much as possible, not just “one run and done.”
If you’re traveling and want an activity that feels like coaching, not just renting a board and hoping, this is the right format.
Choosing Beginner Waves With Safety in Mind
Beginners often worry about one thing: will I get hurt?
This lesson tackles that by teaching what to look for in the surf environment and how to surf safely with others nearby. You’ll learn the basics of ocean conditions and surf etiquette before you paddle out. That’s how you avoid the common beginner mistake of treating every wave like it’s yours.
You’ll also be guided toward beginner-friendly waves, with the instructor helping you select what’s rideable for your level.
One more reason this feels good: the session is built around small waves. That’s not a compromise. It’s how you create repeated chances to practice turning and timing without getting overwhelmed by conditions that are too intense too soon.
Price and Value: Is $150 Worth It?
At $150 per person for about 2 hours, the price lands in the mid-range for guided surf instruction on the North Shore. The question is what you get for that money.
Here’s why it can feel like good value:
- Equipment is included (board, leash, rash guard). That reduces hidden rental costs.
- Instruction is delivered in a private-group format, so you get more targeted attention.
- The structure is learning-focused: safety briefing, dry-land mechanics, then progressive coaching in small waves.
If you’ve paid for surf lessons before and felt like the “lesson” part was thin, you’ll probably appreciate this pacing. Dry-land pop-up practice is not flashy, but it’s effective. It also means you’re not wasting time guessing your stance while you’re already in the water.
A quick practical note: this experience depends on good weather, and the provider may reschedule or refund if weather shuts it down. If you’re flexible in your schedule, you’ll likely have a smoother booking experience.
Who This Lesson Suits Best
This lesson is a strong fit if:
- you’re a true beginner or mostly starting from scratch
- you want structured coaching (not random wave chasing)
- you care about learning the pop-up basics correctly
- you want a North Shore activity that’s active but not overly technical
It also requires moderate physical fitness. You don’t need to be an athlete, but you should be comfortable with paddling, getting in and out, and maintaining focus for the full session.
If you have any swimming concerns, request a life jacket in advance. The lesson is still a water activity, and that planning step can make the difference between feeling nervous and feeling ready.
Should You Book This North Shore Surf Lesson?
I’d book it if you want beginner progress with solid coaching, not just a fun beach outing. The combination of dry-land pop-up practice, safety and etiquette upfront, and instructor attention in a private-group setting makes it a smart way to start surfing on Oahu.
Skip it only if you’re looking for a long, freeform beach day. This is a focused lesson. You’ll work, you’ll learn, and you’ll spend most of the time doing the right tasks in the right order.
Also, if you’re short on time and want one high-impact activity on the North Shore, this fits well. Two hours is enough to learn the basics and walk away feeling like you actually did something.
If you’re ready to trade guessing for coaching, this is a great way to get your first surf experience on Oahu.
FAQ
Where is the meeting point for the surf lesson?
The lesson meets at Kahalewai Place, Kahalewai Pl, Haleiwa, HI 96712, USA. The activity ends back at the same meeting point.
How long is the beginner surf lesson?
The duration is about 2 hours.
What surf gear is included?
The lesson includes a surfboard, a surf leash, and a rash guard.
What should I wear and bring?
Wear your swimsuit. Bring reef-safe sunscreen. The rash guard helps protect your arms and shoulders, but sunscreen is still recommended.
Is morning or afternoon available?
Yes. You can choose either a morning or an afternoon lesson time.
What if I struggle swimming?
If you have struggles swimming, request a life jacket in advance.
What happens if the weather is poor?
If the activity is canceled due to poor weather, you’ll be offered a different date or a full refund.